


I bought 2 elbow peices, but I should have bought 4, and 6 of the 3 hole pieces.(If I would do over, Id buy 4 of the elbows, and 4 of the 3 hole things). The next picture will show you why. If you notice, I had to buy some connector pieces for the 3 hole things because one hole was threaded. This obviously added length, so I face each threaded hole horizontally on the back end, making the box about an inch wider than it was deep.

The back right hand corner...the top and left hand corners mirror this image.

The bottom piece has the elbow, now you see why I should have bought 4 elbows, and not 2! I dont need that extra hole, BUT if you want the bar there for extra support, just buy what you see here, and 2 more of the connector pieces to fit the pipe into the threaded hole.
Because I am quite clumsy at times, I decided to leave the entire front end of my box open to save the cakes from a bump! The box holds well without the extra pipe, but feel free to add it in there if you think your box needs more support for the wight of a sheet LOL!

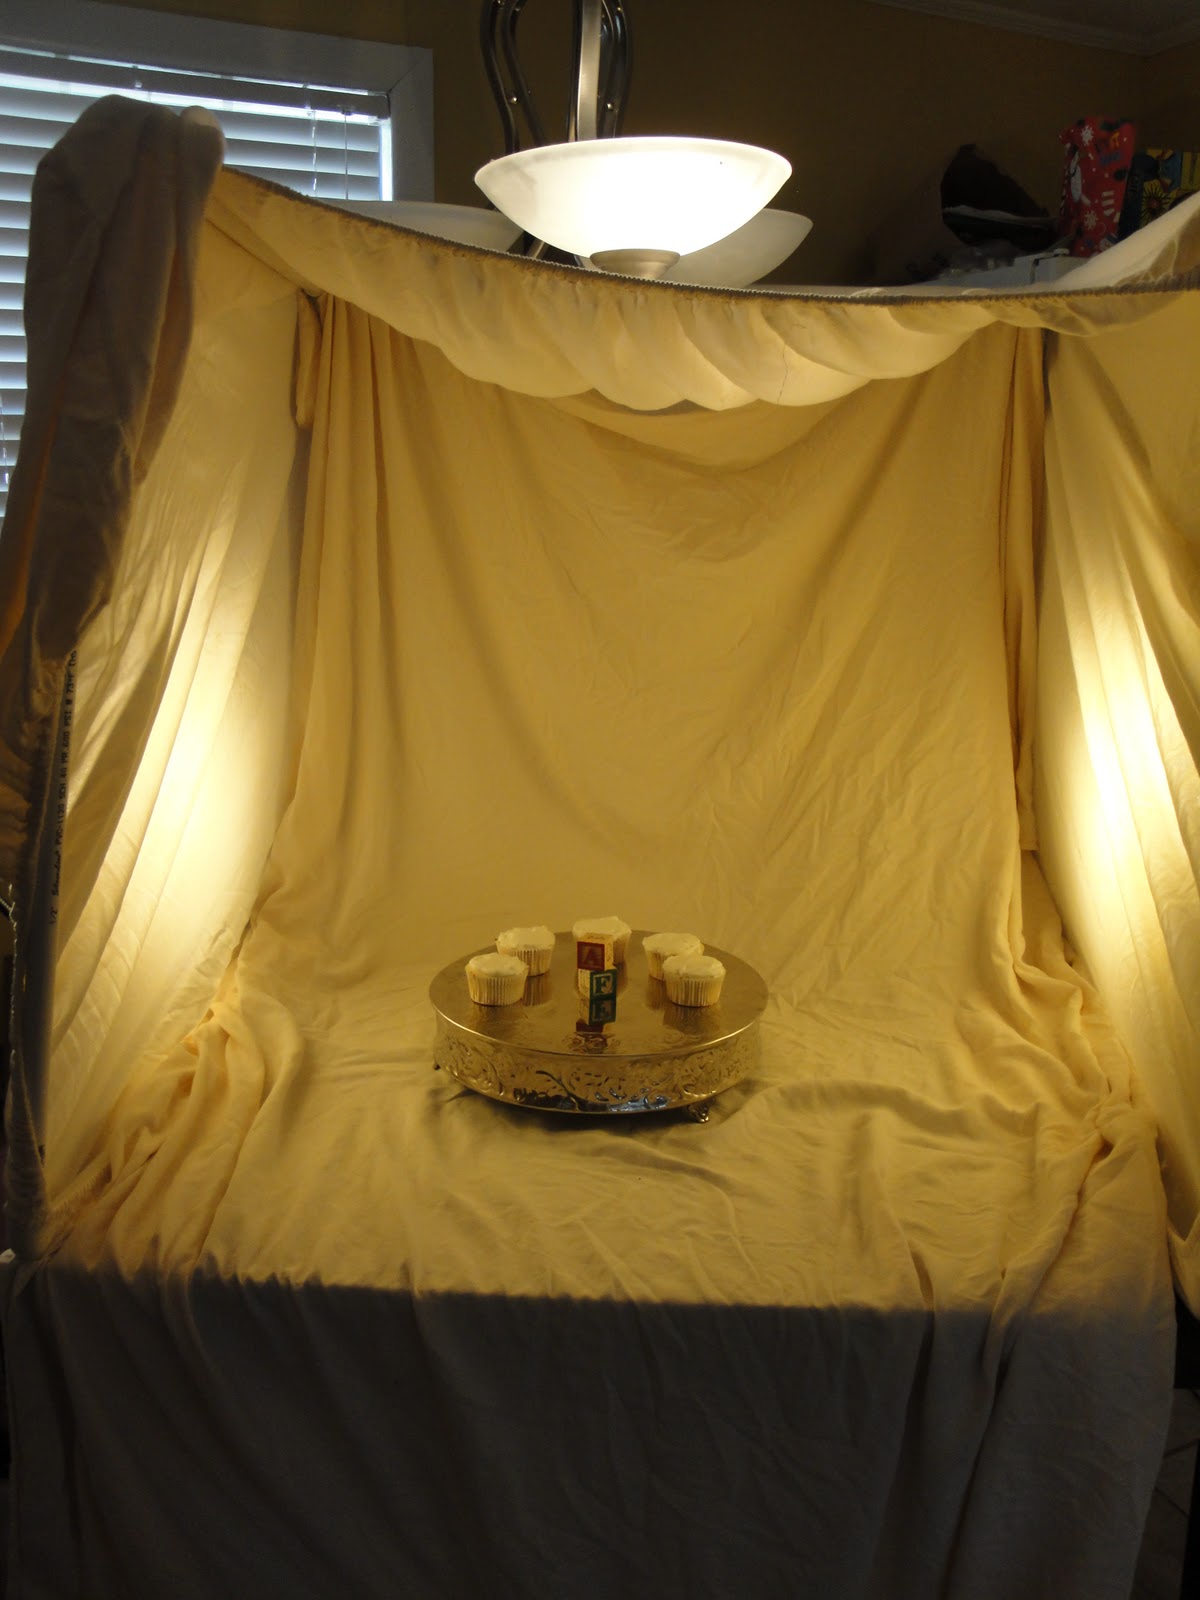
Okay, So here it is, sheets and all LOL!! I couldn't find any fabric at Walmart, so I tried using my queen sized sheets instead AND IT WORKED! On the sides, I have to basic cheap desk lamps. I draped the flat sheet on the back, and down to the front, and did the fitted sheet across the sides and top. The only thing I did differently you don't see here, is I turned it around and faced it towards the window for natural light. I hope this "How To" was helpful!
No comments:
Post a Comment